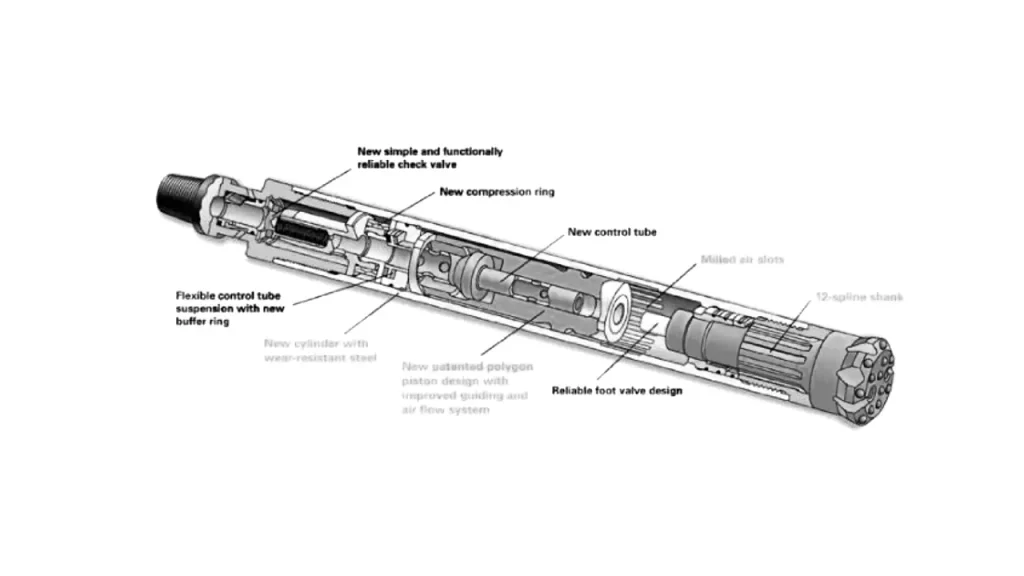
DTH Hammer Assembly
A DTH hammer assembly comprises a top sub, check valve, outer cylinder, and piston, which reciprocate to strike the bit. An anvil directs the impact energy. Air passages supply high-pressure air for piston operation and cuttings removal, ensuring efficient drilling in various rock formations.
Sinodrills - Your Trusted DTH Hammer Assembly Manufacturer from China
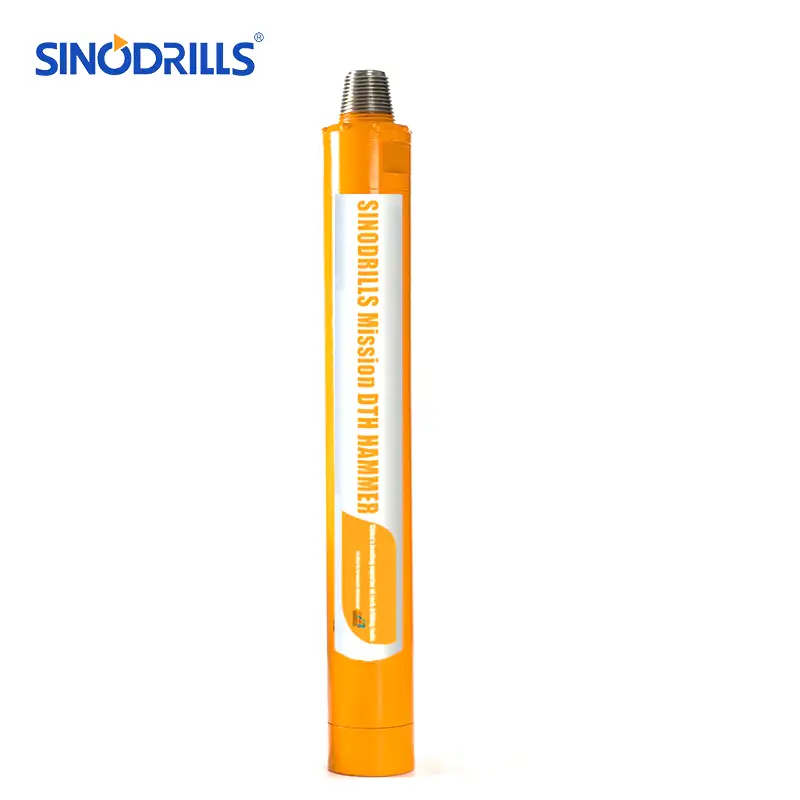
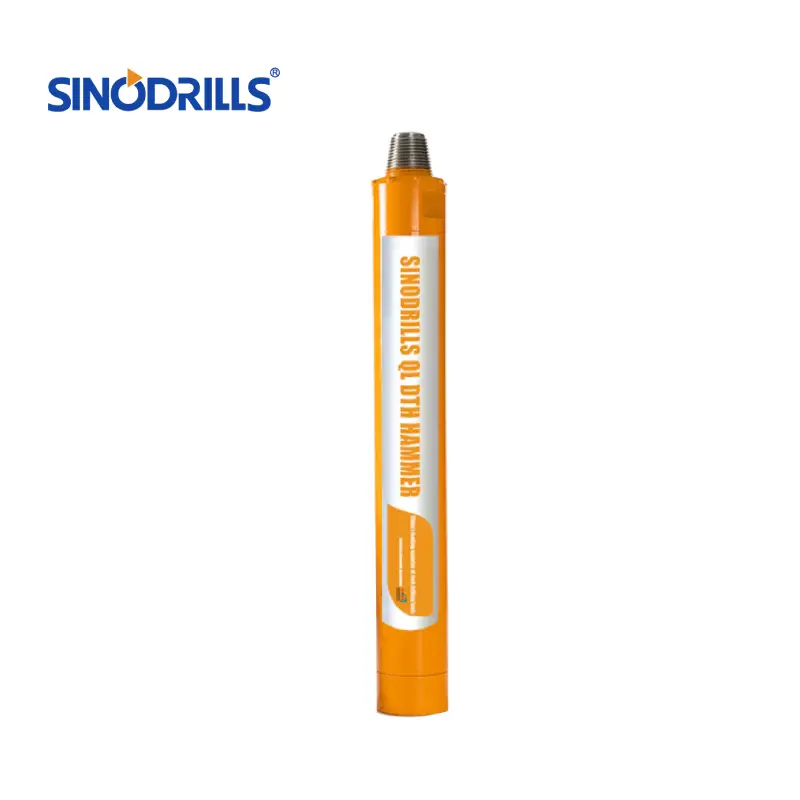
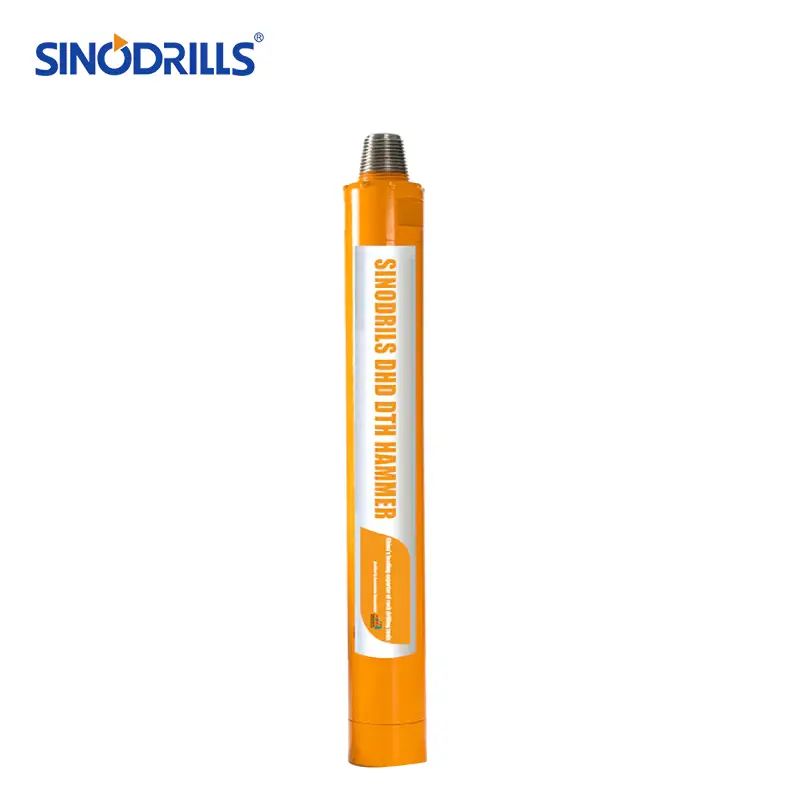
Sinodrills, based in China, is a trusted DTH hammer manufacturer to provide DTH hammer assemblies. They specialize in high-performance drilling tools, utilizing premium alloy steel, precise CNC machining, and advanced heat treatment processes. Their products, including GSE DHD, QL, and Mission series hammers, are designed for durability, efficiency, and lower air consumption, catering to mining, construction, and water well drilling applications worldwide.
DTH Hammer Parts
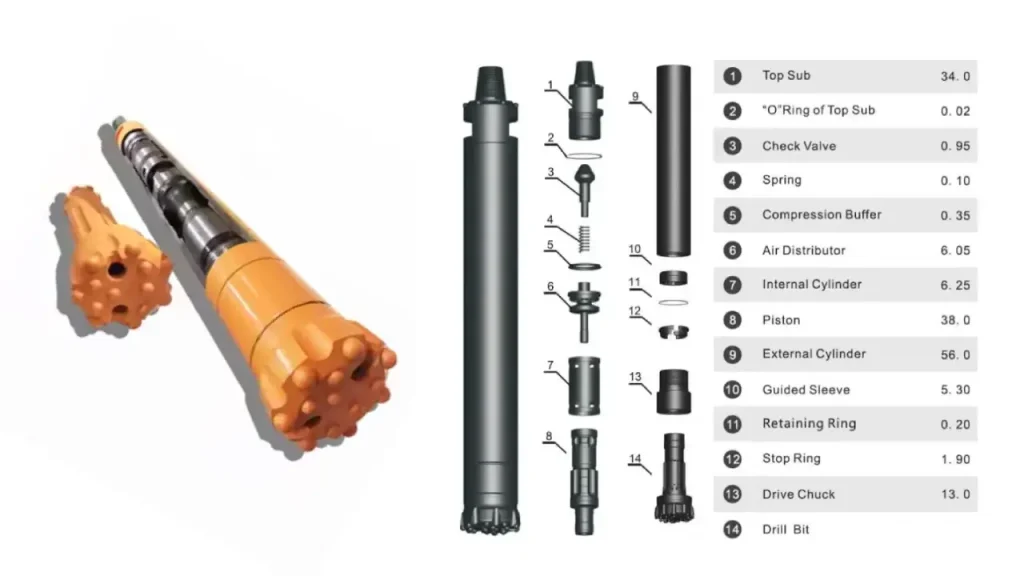
1. Top Sub: This is the uppermost part of the hammer, connecting it to the drill string. It transfers rotation and percussion force from the rig to the hammer.
2. “O”Ring of Top Sub: A sealing ring that helps maintain pressure within the hammer assembly, preventing air leakage.
3. Check Valve: This valve allows air to flow into the hammer but prevents debris from entering the internal components.
4. Spring: Provides tension or compression for certain internal components, often related to valve operation or impact mechanism.
5. Compression Buffer: A component designed to absorb impact or provide cushioning for internal parts during operation.
6. Air Distributor: Manages and directs the flow of high-pressure air to different parts of the hammer, crucial for the piston’s reciprocating motion.
7. Internal Cylinder: Houses the piston and guides its movement, forming the chamber where air pressure builds up to drive the piston.
8. Piston: The primary moving part inside the hammer. It reciprocates rapidly due to air pressure, striking the drill bit to create impact energy.
9. External Cylinder: The main outer body of the DTH hammer, enclosing all the internal components and providing structural integrity.
10. Guided Sleeve: A component that helps guide the movement of other parts, often the piston, ensuring smooth and efficient operation.
11. Retaining Ring: A fastener that holds other components in place within the assembly.
12. Stop Ring: Limits the movement of certain internal parts, ensuring they operate within their designed range.
13. Drive Chuck: Connects the hammer to the drill bit, transferring rotational force and impact energy to the bit. It also has splines that engage with the bit.
14. Drill Bit: The cutting tool at the bottom of the hammer that directly interacts with the rock, breaking it apart as the hammer operates.
How to Assembly DTH Hammers
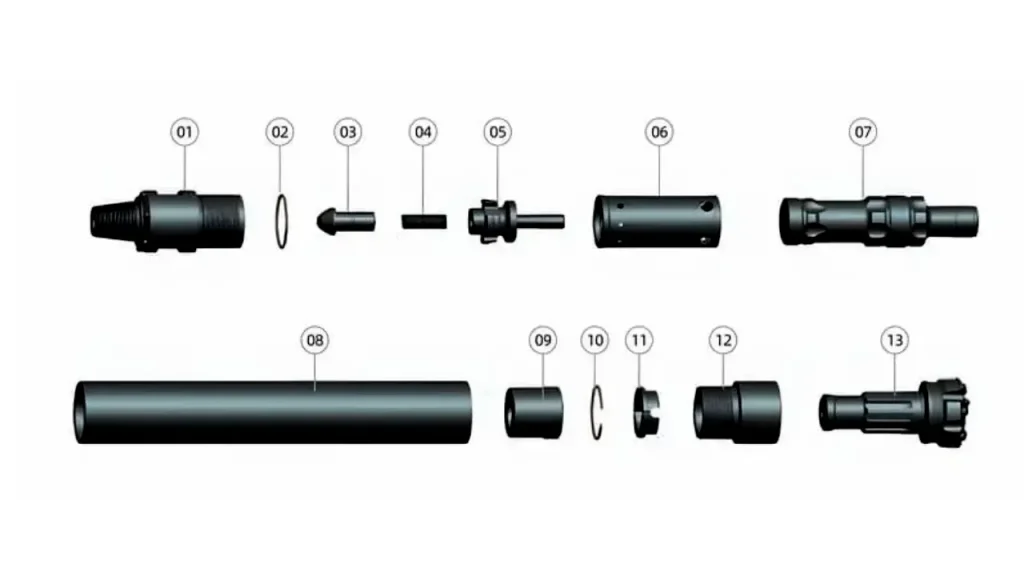
Before commencing DTH hammer assembly, ensure all parts are thoroughly cleaned and inspected for wear or damage. Proper pre-assembly preparation is crucial for the DTH hammer’s optimal performance and longevity. Refer to the manufacturer’s guidelines for any specific lubrication requirements or torque settings.
Step 1: Install the Air Guide Assembly
Begin by carefully installing the Air Guide assembly. This component is crucial for regulating airflow within the hammer, ensuring efficient piston operation. Align the parts correctly and secure them according to the hammer’s design specifications. This step sets up the core airflow control for the hammer.
Step 2: Install the Check Valve and Spring
Next, carefully position the Check Valve and its corresponding Spring into the Air Guide. These components prevent debris from entering the internal mechanism while allowing proper air flow for operation. Ensure the spring is correctly seated to allow the check valve to function optimally during drilling.
Step 3: Install the Piston and Internal Cylinder
Now, insert the Piston into the Internal Cylinder, ensuring a smooth fit. These are critical components responsible for generating the percussive action. Proper alignment and a clean bore are essential for the piston’s free movement and efficient energy transfer to the drill bit.
Step 4: Install the Top Sub Assembly
Attach the Top Sub assembly to the main hammer body. The Top Sub connects the hammer to the drill string and transmits rotation and downforce. Ensure all sealing rings are in place to prevent air leakage and maintain internal pressure for effective drilling operations.
Step 5: Install the Wear Sleeve
Slide the Wear Sleeve over the main hammer body and secure it. The Wear Sleeve protects the internal components from external abrasion and wear, extending the hammer’s lifespan. Proper installation ensures it sits flush and provides the intended protective layer during operation.
Step 6: Install the Drive Chuck and Bit Retaining Rings
Install the Drive Chuck, which engages with the drill bit, and then secure the Bit Retaining Rings. These components are vital for transferring rotational power and percussive energy to the drill bit. Correct assembly ensures the bit is securely held and efficiently transmits impact.
Step 7: Attach the Drill Bit
Finally, attach the Drill Bit to the hammer assembly. This is the cutting tool that directly interacts with the rock. Ensure it is properly seated and secured by the drive chuck and retaining rings, ready for effective rock breaking. A secure bit is paramount for drilling efficiency.

Customize Your Desired DTH Hammers
Shank Type and Size
The shank type and size are crucial for ensuring compatibility with your existing drilling rig and drill bits. Different rigs utilize various shanks like DHD, QL, Mission, or SD. Customizing this aspect ensures a seamless fit, optimizing power transfer and preventing operational issues, leading to efficient drilling.
Air Consumption and Operating Pressure
Optimizing air consumption and operating pressure directly impacts drilling efficiency and cost. Customizing for lower air consumption at a given pressure can reduce fuel costs for the compressor. Conversely, a hammer designed for higher pressures can deliver more impact energy, improving penetration rates in hard rock formations.
Hammer Casing Material and Heat Treatment
The hammer casing material and its heat treatment are vital for durability and lifespan, especially in abrasive conditions. Customization might involve selecting specific high-grade alloy steels and tailored heat treatment processes to enhance wear resistance and toughness, reducing downtime and replacement costs in challenging geological environments.
Bit Retention System
The bit retention system ensures the drill bit remains securely attached to the hammer during drilling. Customization here can involve different chuck designs or retaining ring mechanisms to suit specific drilling applications or bit types. A robust retention system prevents bit loss and ensures consistent energy transfer to the rock.
what is a DTH Hammer?
A DTH (Down-The-Hole) hammer is a powerful percussion drilling tool used in various industries like mining, construction, and water well drilling. It operates by delivering rapid, high-energy blows to a drill bit, effectively breaking rock into small chips.
The hammer is located directly behind the drill bit, at the bottom of the drill string, ensuring efficient energy transfer and minimizing loss over long drill strings, making it ideal for hard rock formations.
Compressed air powers the piston inside the hammer, which then strikes the anvil, transmitting impact to the bit.
how does a DTH Hammer work?
A DTH hammer operates on the principle of percussive drilling, driven by high-pressure compressed air. The air enters the hammer through the drill string and is directed by an air distributor. This controlled airflow causes a piston to reciprocate rapidly within the hammer’s internal cylinder.
As the piston moves, it strikes an anvil, which in turn transmits the kinetic energy directly to the drill bit. This high-frequency, high-impact action efficiently pulverizes the rock at the bottom of the borehole.
Simultaneously, the compressed air that drives the piston also serves to clear the borehole. After powering the piston, the air is channeled down through passages within the hammer and exits through the drill bit’s face.
This forceful expulsion of air, often referred to as flushing air, carries the rock cuttings back up to the surface, preventing them from interfering with the drilling process and ensuring continuous penetration. The rotation of the drill string, combined with the hammer’s percussive action, allows for continuous and efficient rock breaking.
DTH Hammer Post Disassembly Inspection
After disassembling a DTH hammer, a thorough inspection is crucial to assess wear and tear, identify potential failures, and determine which parts require replacement. This process ensures the hammer’s continued efficient and safe operation. Key inspection points include:
- Piston: Check for signs of scoring, cracks, or excessive wear on the striking face and bearing surfaces.
- Outer Casing/Cylinder: Inspect for cracks, distortion, or significant wear, especially in areas subjected to impact or abrasion.
- Air Distributor/Check Valve: Examine for blockages, wear, or damage that could impede proper airflow and impact efficiency.
- Drive Chuck and Retaining Ring: Look for excessive wear in the splines and grooves, as this can lead to poor bit retention and energy loss.
- Top Sub: Check threads for wear or damage, ensuring a secure connection to the drill string.
- Bit: While technically separate, the bit should also be inspected for wear on the buttons, gauge, and face, as its condition directly impacts hammer performance.
DTH Hammer Disassembly Considerations
When planning DTH hammer disassembly, several critical considerations ensure safety, efficiency, and proper component handling. Prior preparation and attention to detail will prevent damage to parts and facilitate a smoother reassembly process. Always refer to the manufacturer’s specific guidelines for your hammer model.
1. Safety Precautions
Prioritize safety by ensuring the hammer is completely disconnected from the drill rig and any air supply. Wear appropriate personal protective equipment (PPE), including safety glasses and gloves. Recognize that internal components can be under residual pressure, requiring careful handling to prevent sudden release of energy during the initial stages of disassembly.
2. Specialized Tools and Equipment
DTH hammers often require specialized tools for safe and effective disassembly, such as hammer vices, spanners, and sometimes hydraulic presses for stubborn components. Using the correct tools prevents damage to the hammer parts and reduces the risk of injury. Improvised tools can lead to stripped threads or deformed components.
3. Component Identification and Organization
As you disassemble the hammer, meticulously identify and organize each component. Labeling parts and keeping them in sequence helps prevent confusion during reassembly. This practice is particularly important for internal components that might appear similar but have subtle differences or specific orientations, ensuring correct functionality upon reassembly.
4. Inspection and Documentation
During disassembly, thoroughly inspect each part for wear, corrosion, cracks, or other damage. Document your findings, potentially with photographs, to aid in ordering replacement parts and to maintain a service record. This pre-emptive inspection helps anticipate future maintenance needs and prevents premature hammer failure.
Can you use regular bits in a hammer drill?
It’s generally not recommended to use regular drill bits in a hammer drill when the hammer function is engaged.
Regular drill bits, typically designed for rotary drilling in wood, metal, or plastics, are made from high-speed steel (HSS) or similar materials. While they are strong enough for cutting, they lack the specific construction to withstand the intense percussive force generated by a hammer drill. This percussive action creates rapid, short impacts in addition to rotation.
When a regular bit is subjected to this hammering motion, it can quickly dull, bend, or even shatter. The tip of the bit is particularly vulnerable, as it’s not designed to absorb direct impact. This not only damages the bit but can also be a safety hazard, as flying metal fragments are possible.
Furthermore, using an inappropriate bit can also put undue strain on the hammer drill’s chuck and internal mechanisms, potentially leading to premature wear or damage to the tool itself.
For effective and safe drilling with a hammer drill, especially when using the hammer function, always use bits specifically designed for percussive drilling. These are typically carbide-tipped masonry bits, which have a much harder and more robust tip capable of withstanding the pounding action.
They are designed to chip away at hard materials like concrete, brick, and stone, providing efficient and clean holes without damaging the bit or the drill.
Send Your Inquiry Now
All-in-one DTH Hammer Assembly Solutions for Your Project
Gain seamless drilling efficiency with all-in-one DTH hammer assembly solutions. These comprehensive packages deliver high-performance hammers, perfectly matched bits, and essential accessories for various drilling conditions. Optimize your project’s productivity and reduce downtime with reliable, integrated solutions designed for durability and consistent rock penetration in mining, construction, and water well applications.