The proper installation of a drill rod is a critical step in any drilling operation, ensuring both the safety of the operator and the efficiency of the project. A correctly installed rod minimizes the risk of equipment failure, prevents costly delays, and helps achieve a clean, accurate bore.
This guide will walk you through the essential steps for installing a drill rod, from initial inspection to final tightening. By following these best practices, you can significantly enhance your drilling performance and prolong the life of your valuable equipment.
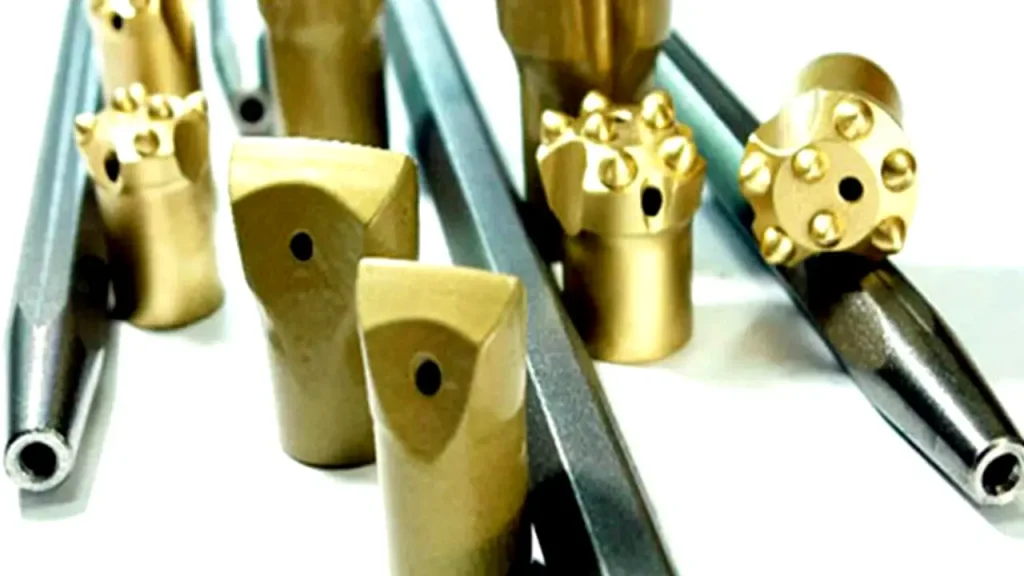
What are Self-Drilling Rods?

Self drilling rods are hollow, threaded tubes designed to act as both the drill string and the reinforcement element in one continuous process.
They let you drill, grout, and anchor without casing, making them especially useful in unstable ground. Their design speeds up installation while delivering dependable performance in tunneling, mining, slope work, and foundation reinforcement.
When to Use Drill Rods
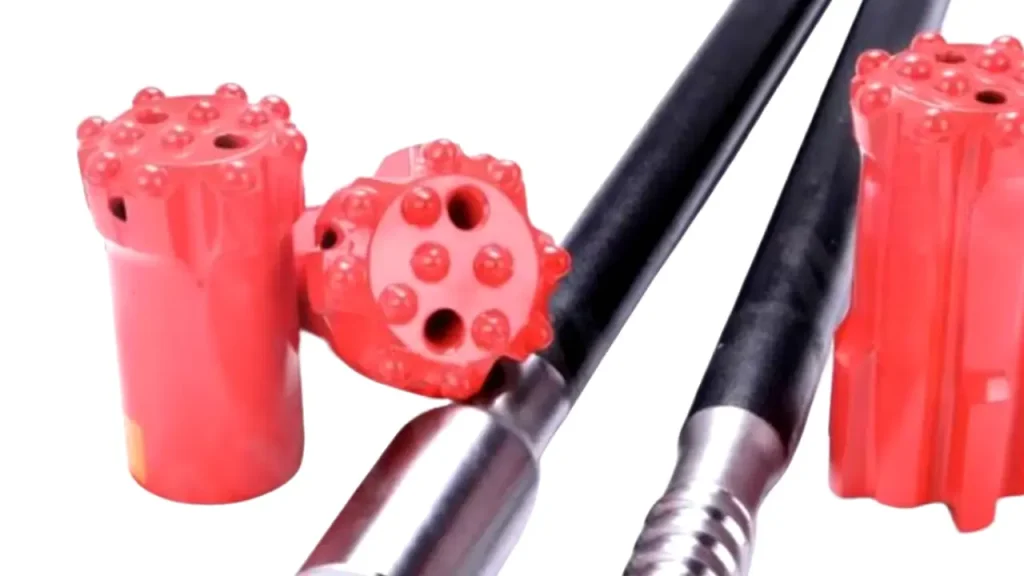
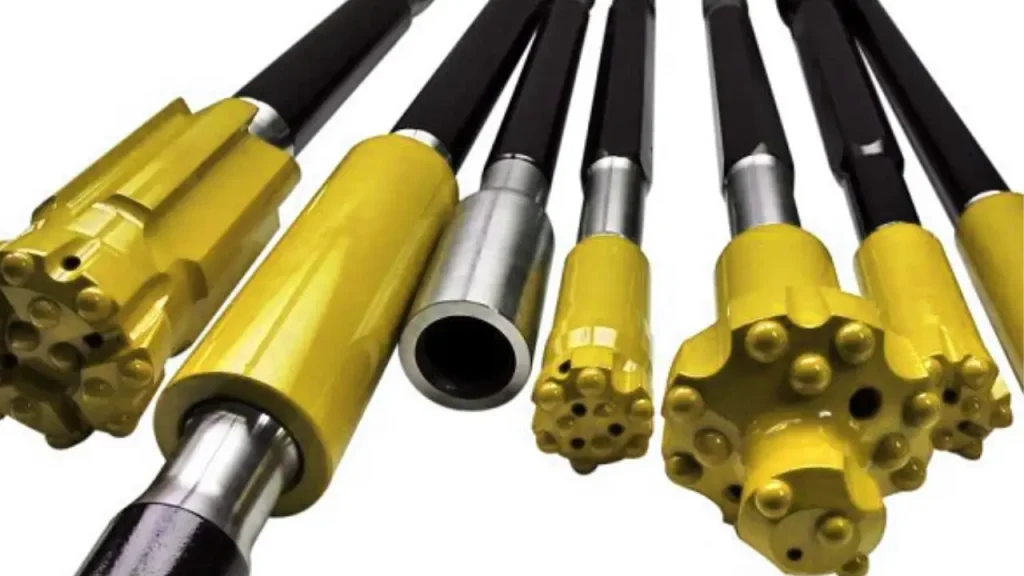
Recommended Drill Rods


Drill rods are indispensable tools in various industries when a strong, reliable, and durable connection is needed to transmit power from a drilling machine to a drill bit. They are essential for applications that require drilling deep into the Earth’s crust or other solid materials.
- Mining and Quarrying: Used to drill blast holes to break up rock for mineral extraction and quarrying operations. Their strength and resistance to wear are vital for penetrating hard rock formations.
- Geotechnical and Foundation Drilling: Employed for soil sampling, coring, and creating stable foundations for large structures. The rods provide the necessary rigidity and control for precise and accurate drilling in diverse ground conditions.
- Water Well and Environmental Drilling: Essential for drilling boreholes to access groundwater or to collect samples for environmental analysis. Drill rods must be reliable and able to withstand the stresses of deep drilling.
- Construction and Tunneling: Used in construction for anchoring, micro-piling, and creating tunnels. The rods’ robust construction ensures they can handle the high-torque and thrust requirements of these demanding projects.
How to Install Drill Rods?
Installing drill rods is a straightforward process that requires proper technique and safety precautions. This guide provides a clear, step-by-step procedure to ensure a secure and effective connection between drill rods, preventing operational issues and improving drilling efficiency.
Tools Needed
To successfully install drill rods, you’ll need a few key tools to ensure a secure and proper connection.
- Thread Compound/Grease: A specialized lubricant to prevent galling and ease connection.
- Wire Brush/Compressed Air: Used to clean threads and remove debris.
- Breakout Wrench/Pipe Wrench: Essential for applying the final torque to the connection.
- Torque Wrench (Optional): Provides a precise, measurable way to ensure the correct torque.
- Safety Gloves: To protect hands during the process.
Step 1: Prepare the Drill Rods
Before installation, a thorough inspection of both the male and female threaded ends is essential. Check for any signs of wear, deformation, or cracks that could compromise the connection’s strength and integrity, ensuring the rods are in good condition.
Next, ensure the threads are completely clean and free from any dirt, dust, or metal shavings. Use a wire brush or compressed air to remove any foreign material. This step prevents galling, a form of wear caused by adhesion between sliding surfaces.
Finally, apply a thread compound or lubricant to the threads. This reduces friction during make-up and breakout, protects against corrosion, and helps to create a secure seal, which is critical for a durable and reliable connection.
Step 2: Align the Drill Rods
The first action is to hold the drill rod steady while bringing the next rod into position. This is the moment to ensure the two components are perfectly parallel. Proper support prevents the weight of the rods from causing misalignment during the initial engagement.
With the rods held steady, gently bring the male and female threads together. Visual alignment is crucial; ensure the lead threads are squarely facing each other. Any angle or offset at this stage will almost certainly lead to cross-threading and thread damage.
Slowly rotate the rod to begin the engagement. The threads should catch smoothly without resistance. If you feel any binding or resistance, stop immediately. Back the rod off, realign the threads, and try again to prevent stripping or deforming them.
Step 3: Hand-Tighten the Connection
Once the threads have started to engage, continue to turn the rod by hand. The goal is to fully engage as many threads as possible without the use of tools. A properly aligned connection will turn smoothly and easily.
Continue hand-tightening until you feel the threads are fully seated and can no longer be turned by hand. The connection should be snug but not forced. This step ensures that the threads are properly aligned and that the joint is ready for mechanical tightening.
This preliminary, manual tightening is a critical quality control step. If the connection binds or feels loose at this stage, it indicates a problem with the threads or alignment. It is much easier to correct issues now than after using tools.
Step 4: Use a Breakout Wrench
With the rods hand-tight, select a breakout wrench or pipe wrench of the appropriate size for the drill rod diameter. Position the wrench on the wrench flats of each rod to get a good, secure grip that won’t slip.
Apply steady, firm pressure to the wrench handle to tighten the connection further. The goal is to reach the specified torque recommendation from the manufacturer. Avoid jerky movements, as these can shock the threads and weaken the joint.
Listen and feel for the final seating of the threads. The connection will feel solid and the wrench will stop moving easily. Do not over-tighten, as this can stretch or damage the threads and make it difficult to break the connection later.
Step 5: Verify the Connection
After using the wrench, perform a final visual inspection of the joint. Look for a flush, consistent connection with no visible gaps between the shoulders of the male and female ends. Any gap indicates the connection isn’t fully seated.
In addition to visual checks, some operations use a torque wrench to ensure the specified torque value is met. This provides a precise, measurable confirmation that the connection is secure and ready for the high stresses of drilling.
A secure and properly torqued connection is essential for safety and operational drilling efficiency. It prevents the drill rods from separating unexpectedly during drilling, which could lead to significant equipment damage, operational downtime, and potential safety hazards.
How to Inspect Drill Rod Installation?
Once a drill rod is installed, a thorough inspection is crucial to ensure a safe and effective drilling operation. This process helps to verify the integrity of the connection, preventing potential failures that could lead to equipment damage or injury.
- Visual Inspection: Visually check the connection for any gaps between the shoulders of the two rods. A properly made-up connection will have the faces of the threads flush against each other. Any visible gap indicates that the rods are not fully torqued.
- Torque Verification: A torque wrench was used for installation, verify that the connection has reached the manufacturer’s specified torque value. This ensures the joint has the necessary preload to withstand the rotational and tensional forces of drilling.
After the initial inspection, examine the exposed threads for any signs of damage or cross-threading. Look for metal shavings or burrs around the joint. Such signs can indicate improper alignment during installation.
Tips on Drill Rod Maintenance
Maintaining drill rods properly extends their lifespan and ensures drilling efficiency and safety. Routine maintenance practices are essential for preventing premature wear and operational failures.
- Regular Cleaning: After each use, clean the rods thoroughly to remove all dirt, mud, and debris. This prevents abrasive particles from damaging the threads and ensures a clean surface for the next application of thread compound.
- Thread Lubrication: Always apply a generous amount of thread grease or compound before making up a connection. This prevents galling, reduces friction, and protects the threads from rust and corrosion, extending their useful life.
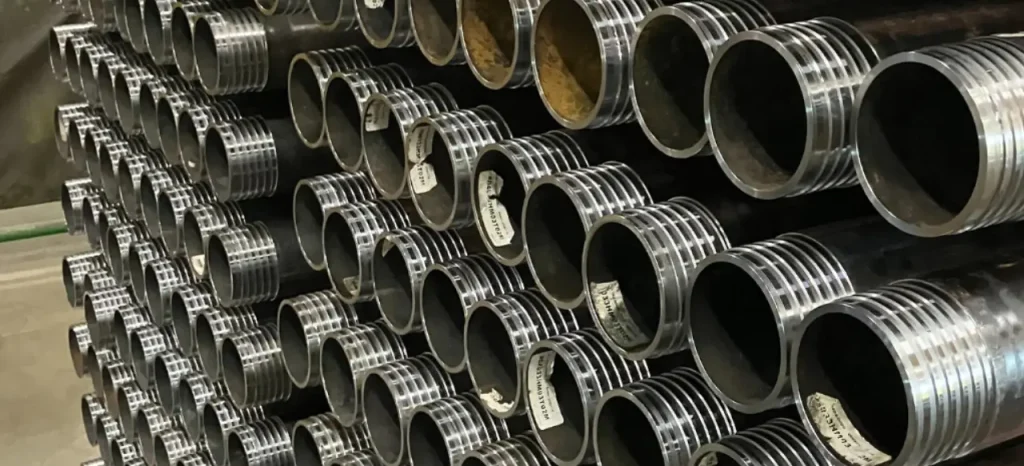
- Storage Practices: Store drill rods in a dry, covered area, preferably in a horizontal rack. Keep them off the ground to prevent moisture accumulation. Use thread protectors on both ends to shield the threads from impact damage and contamination.
What Drill Rod Lengths Needed for Your Project?
Choosing the right drill rod lengths starts with understanding your ground conditions, drilling depth, and the structural demands of the reinforcement system. The length you pick affects installation speed, stability, and how well the anchor or micropile performs. Matching rod segments to actual site conditions helps you avoid delays, extra joints, or unnecessary drilling complications.
- Consider total drilling depth — Calculate the full penetration depth required for the anchor or micropile. This helps you choose rod sections that reduce excessive coupling while still giving enough flexibility to navigate varied layers, making the entire drilling process smoother and more predictable on-site.
- Match rod length to geology — Unstable soils may require shorter sections for better control, while solid rock allows longer rods. Adjusting length to the ground structure improves precision, reduces jamming risks, and helps maintain drilling efficiency across changing formations without stressing equipment.
- Plan for equipment limitations — The drill rig’s stroke length determines how long each rod section can be. Choosing rods that match the rig avoids mechanical interference, prevents wasted motion, and keeps the drilling rhythm consistent, especially during repetitive production drilling.
- Minimize coupling quantity — Longer rods reduce the number of joints but may be harder to handle; shorter rods increase couplings but improve maneuverability. Balancing both helps maintain structural continuity, reduce weak points, and streamline the workflow without sacrificing stability.
- Allow for site logistics and handling — Consider transport constraints, tight workspaces, or overhead limits. Picking rod lengths that fit your site setup prevents lifting issues, reduces downtime, and lets the crew work safely while maintaining steady progress through the drilling sequence.
Why Choose Sinodrills Drill Rods?
Choose Sinodrills for superior drill rods that elevate your drilling performance and deliver exceptional value. We stand out through our commitment to quality, innovation, and customer-focused solutions, ensuring our products meet the highest industry standards for durability and efficiency.
Our expertise and robust manufacturing processes guarantee you receive the best possible tools for any demanding project.
- Premium Quality Materials: We use only top-grade alloy steel, ensuring our drill rods have exceptional strength and wear resistance. This leads to a longer service life and reduces the frequency of replacements.
- Advanced Manufacturing Process: Our state-of-the-art heat treatment and forging techniques optimize the rods’ metallurgical properties. This results in superior durability and reliable performance even in the most demanding drilling conditions.
- Cost-Effective Solutions: By offering long-lasting products, we help you reduce operational costs. Our durable rods minimize downtime and maintenance expenses for a better return on investment.
- Expert Technical Support: Our experienced team provides comprehensive technical assistance and guidance. We help you select the right drill rods and provide solutions for any challenge, ensuring your project’s success.
- Customization to Your Needs: We offer extensive customization options for length, diameter, and thread types. This allows us to provide perfectly tailored solutions that meet your unique project requirements and specifications.
- Reliable Global Delivery: With an established and efficient logistics network, we ensure timely delivery of your orders worldwide. Our reliable service minimizes project delays and keeps your operations running smoothly.
Conclusion
In conclusion, mastering the proper installation of drill rods is fundamental for any successful drilling project. Following the steps outlined in this guide—from careful selection and thorough inspection to secure connection and proper tightening—will safeguard your team, protect your investment in drilling equipment, and ensure high-quality results every time.
By prioritizing these procedures, you not only improve operational efficiency but also significantly extend the lifespan of your drill rods and other components. A secure, well-maintained drilling assembly is less prone to damage and premature wear, saving you time and money on replacements and repairs. This attention to detail is a hallmark of professional drilling.
For durable drill rods that you can rely on, consider getting wholesale drill rods from Sinodrills. Our products are engineered for strength and longevity, providing the reliability you need for even the most demanding projects. Contact us today to explore our extensive range and find the perfect solution for your drilling needs.